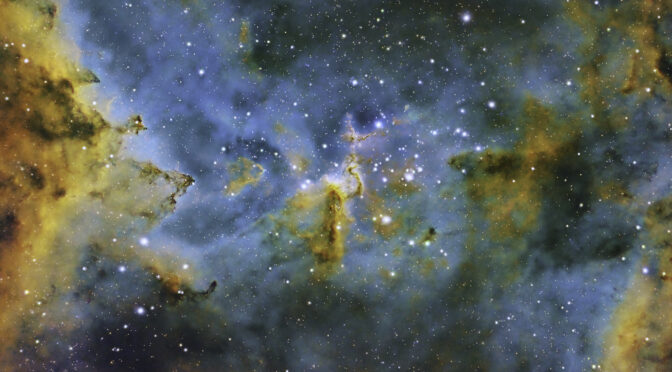
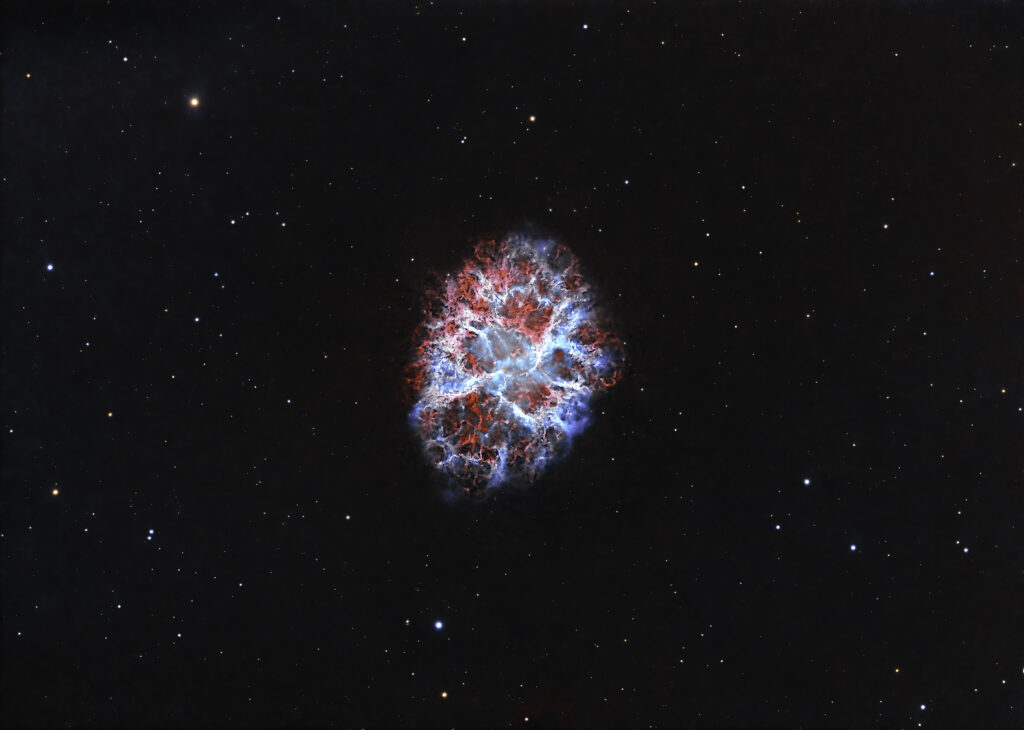
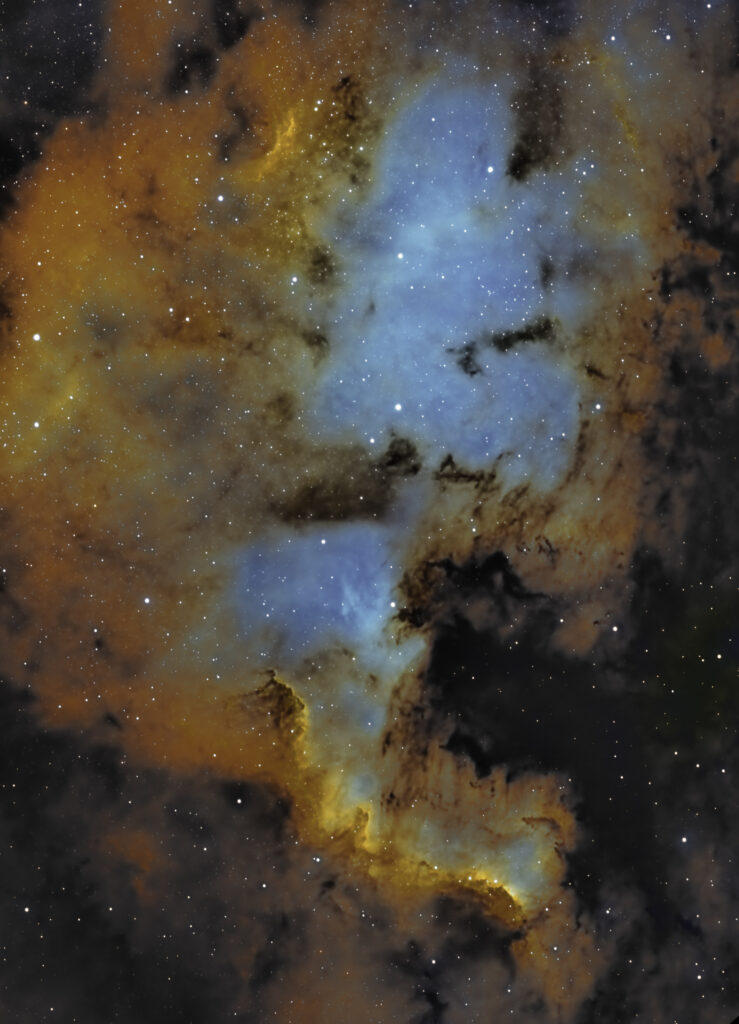
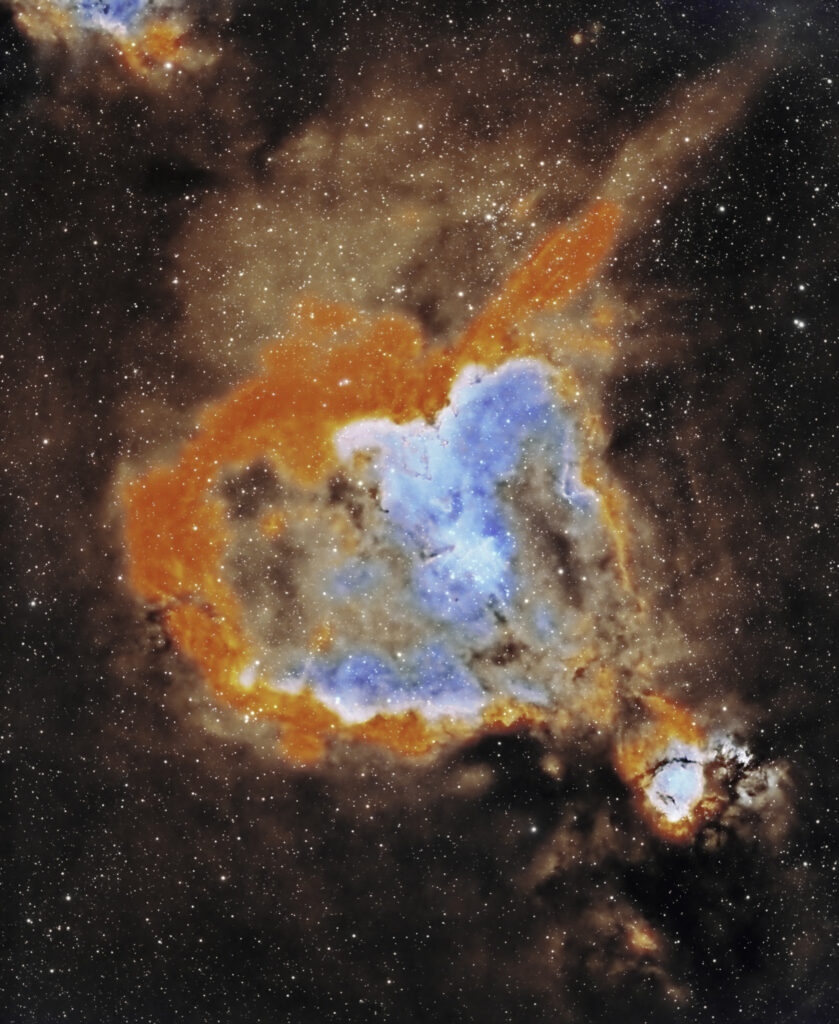
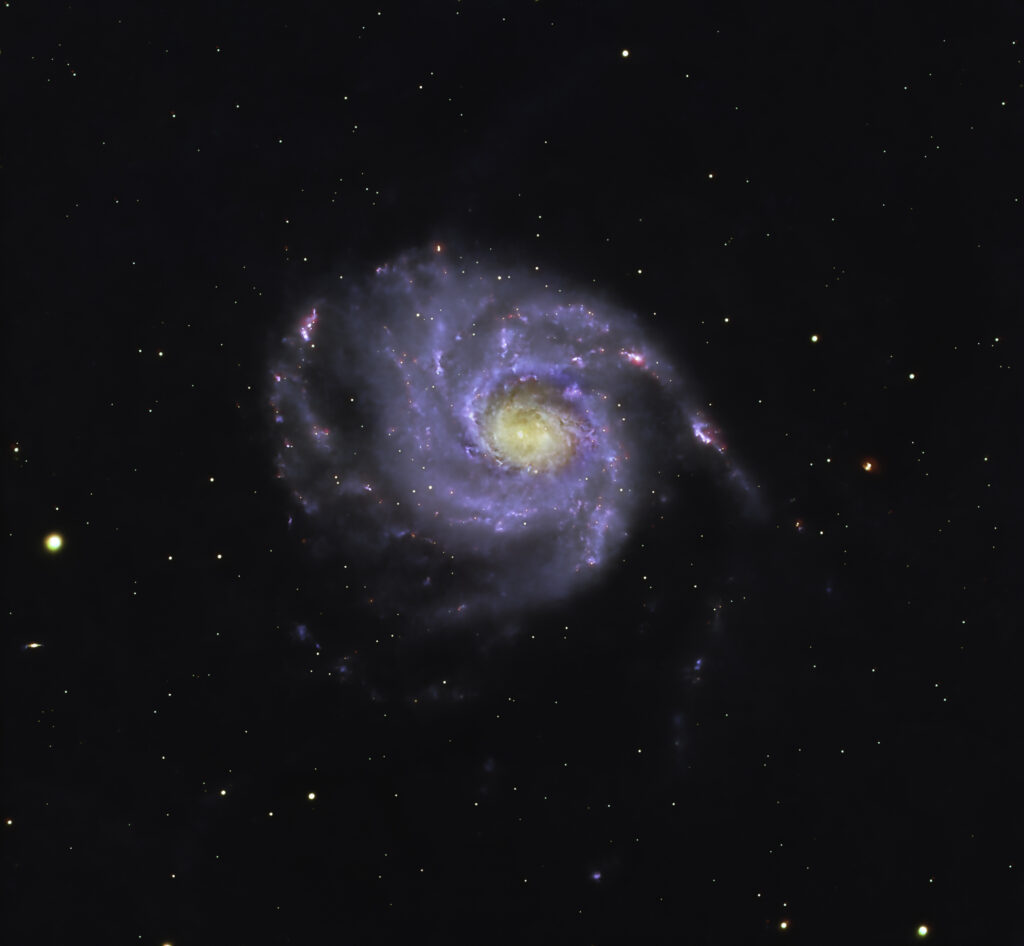
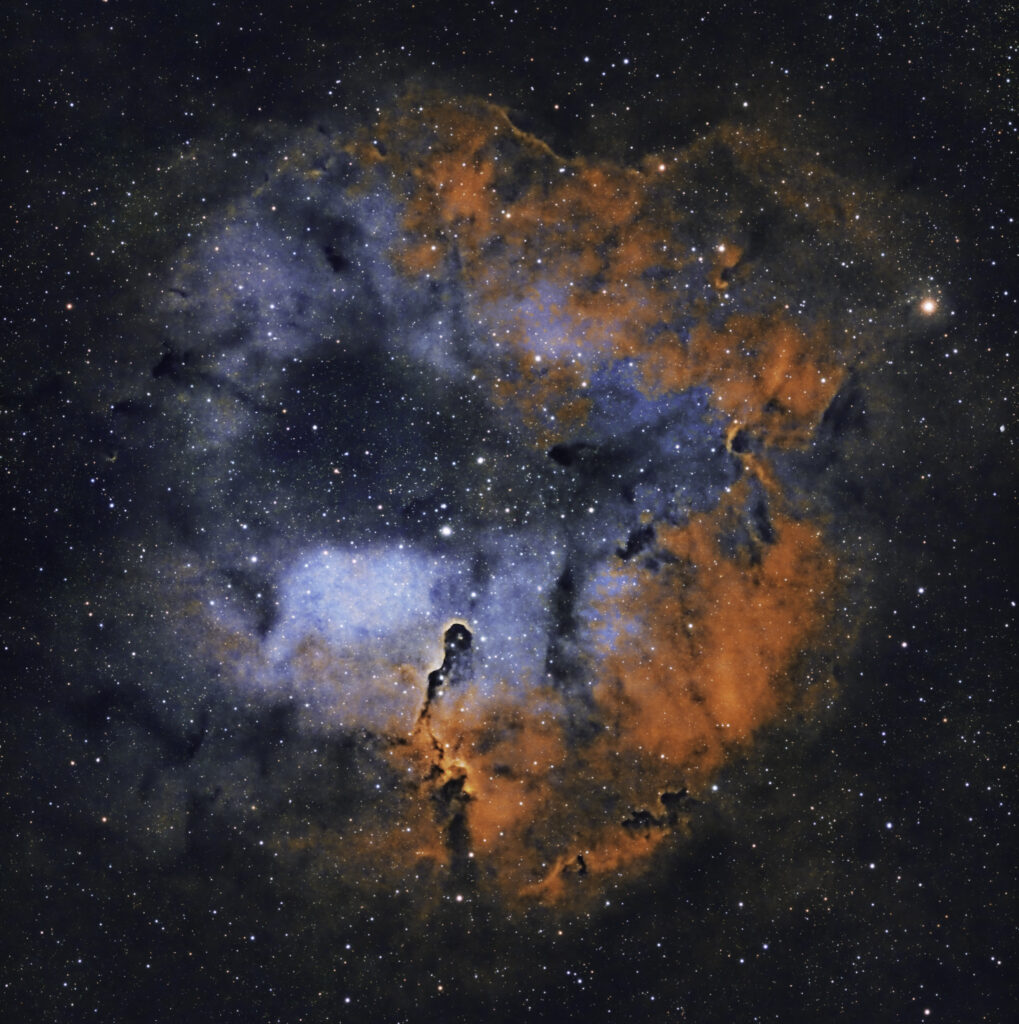
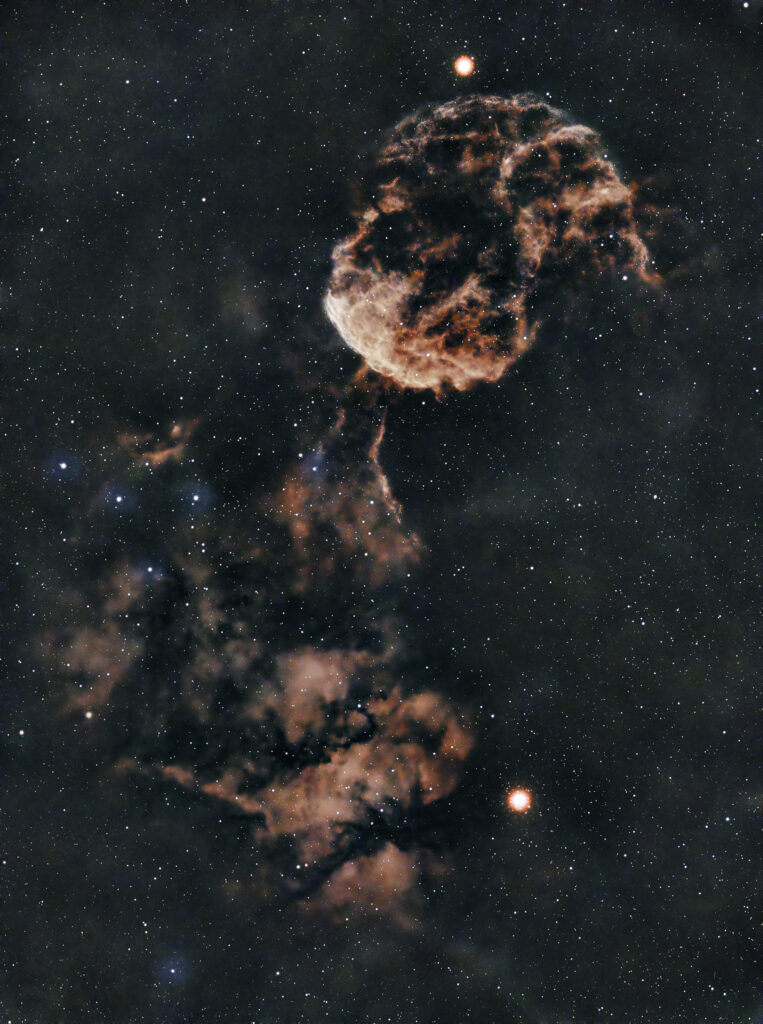
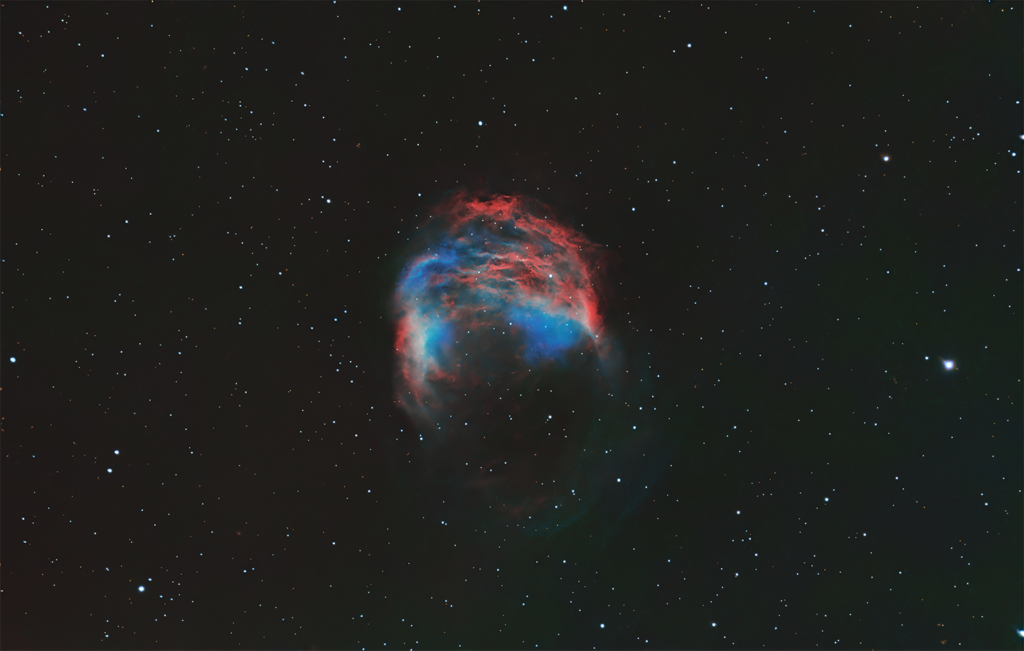
When you view my astrophotography on Facebook and Instagram, have you ever wondered how the heck I’m doing this? Well, more than a few of you have asked, so I thought I’d write a short bit of background on the process. If you’re interested in learning more, please reach out.

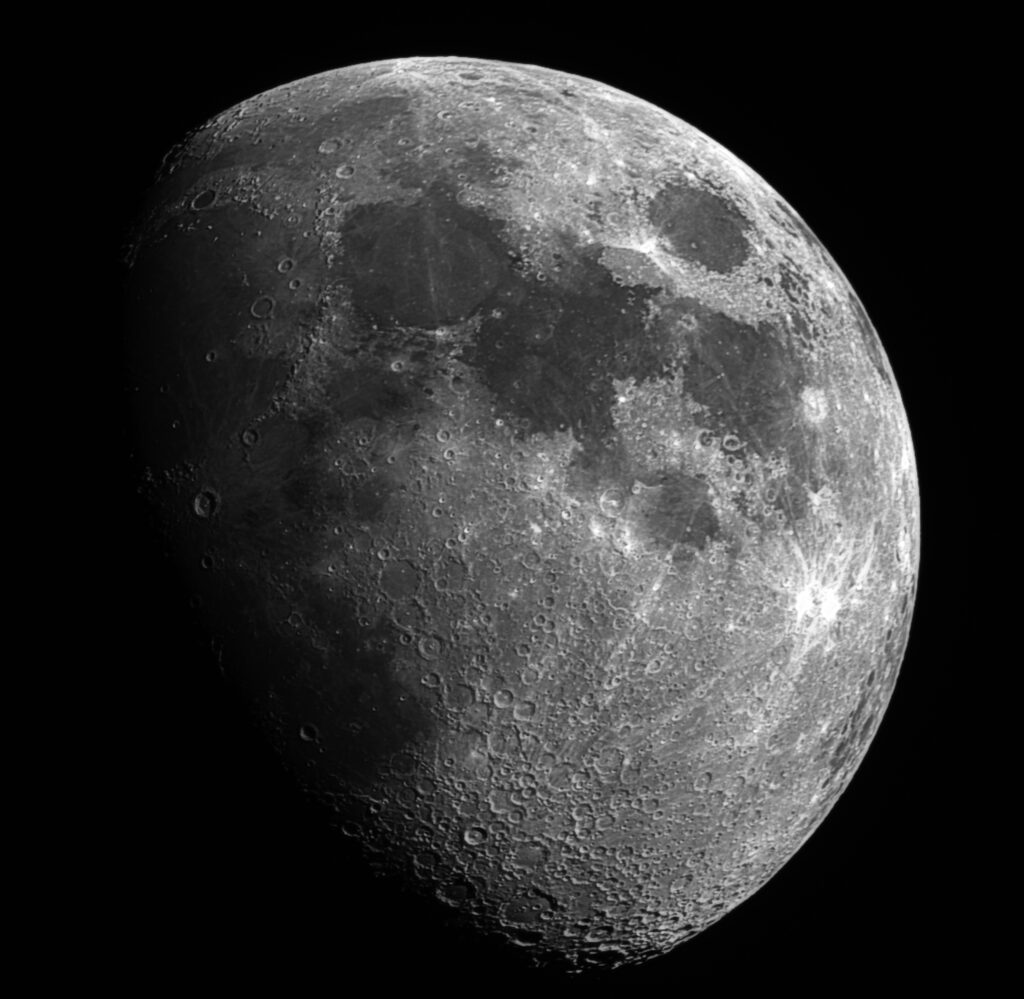

I dove headfirst into this hobby during the summer of 2017 when a total lunar eclipse cut across North Georgia. I picked up a used Celestron reflector telescope, one I’d lusted for as a preteen in all those gift catalogs. And almost 50 years later, and I finally owned one! And with that purchase, the descent into AAS (astronomy acquisition syndrome) began.
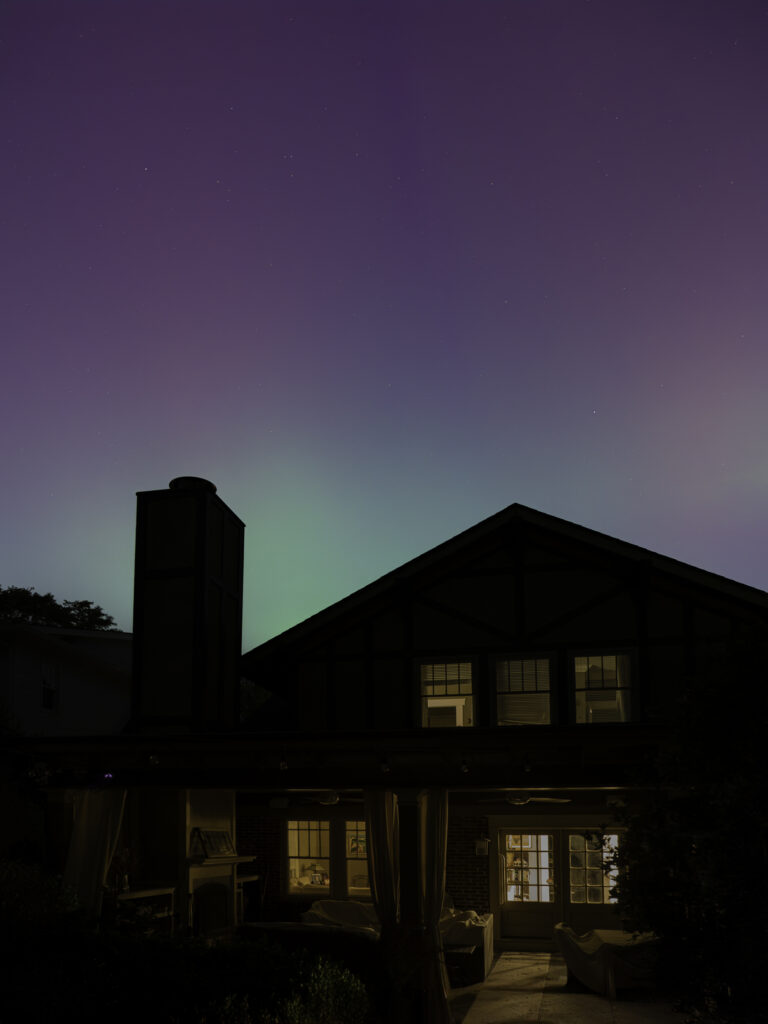
I’ve often said this is the hardest hobby I’ve ever attemtped. It requires patience first and foremost, but also software, hardware, mechanical, weather, design, and more skills. But I’ve only recently found it rewarding. The tipping point was our new backyard. In our old place, there was simply no view of the sky unobstructed by trees unless I hauled my gear to Grant Park and hung out there into questionable hours of the night with my expensive gear. But our new place has a backyard garden with very clear views of much of the sky. And behind a secure gate, I can leave my gear up all night while I sleep.
Curious about the process? Here’s a glimpse of the essentials ⏳💫:
1️⃣ The Telescope: Quality glass and craftsmanship are vital, ensuring precise imaging without visual artifacts or focus inconsistencies. For the most part, I use refractor telescopes that use high-quality glass that reduces distortion and other defects that result in blurry or off-color images. Recently, I added a reflector (known as a Schmidt-Cassegrain system) ideal for smaller objects like galaxies.
2️⃣ Mount: A sturdy and reliable mount is the backbone of our astrophotography setup. It allows me to precisely align and track celestial objects, compensating for the Earth’s rotation. Picking up a modern mount using a harmonic drive simplified this for me significantly.
3️⃣ Alignment: To achieve accurate tracking, I have to meticulously align my mount with the North Celestial Pole, which is just slightly off-center from Polaris, the North Star. This alignment enables me to avoid star trails and freeze my deep-space subjects in a fixed position during long exposures, often 5 minutes or more.
4️⃣ Focus: Maintaining sharp focus throughout the night is essential. I use an automated focuser that periodically adjusts the focus on its own, ensuring my images remain crisp and detailed. This automation allows me to keep the system in focus while I sleep.😴
5️⃣ Tracking: My mount (the piece of gear the scope sits on top of) is equipped with a precise motor to track celestial objects accurately. It moves at the same speed as the Earth’s rotation, effectively “freezing” deep-space subjects in the frame during long exposures and capturing intricate details over extended periods.
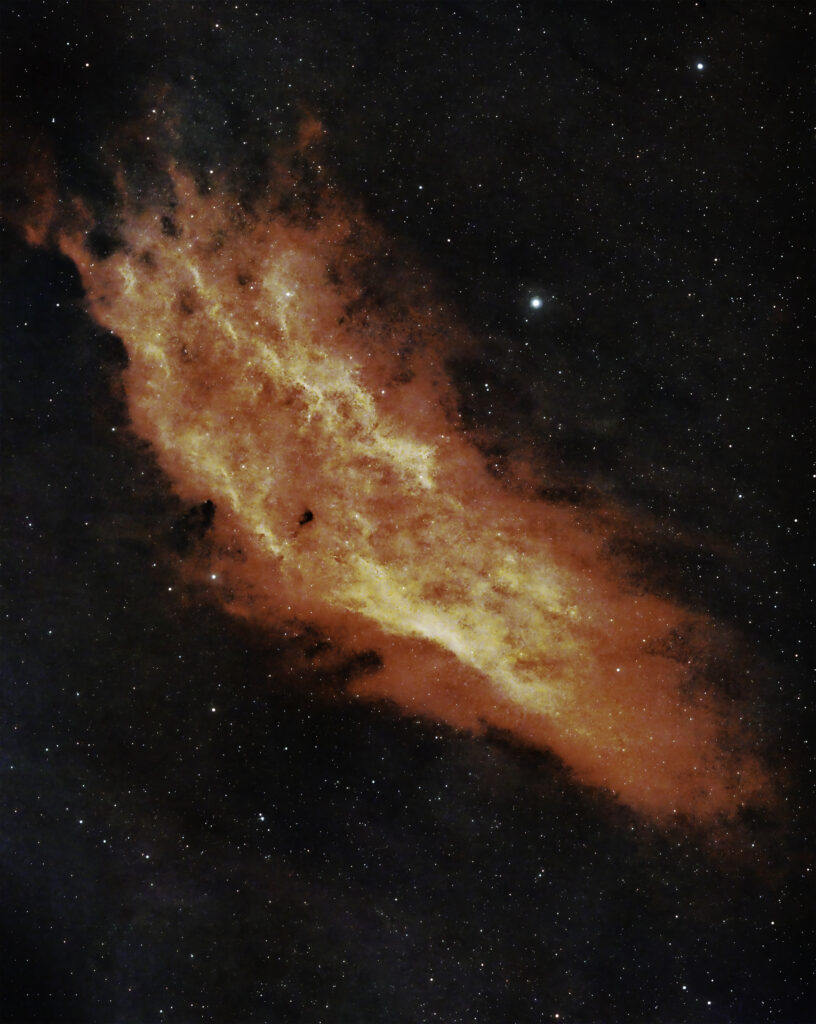
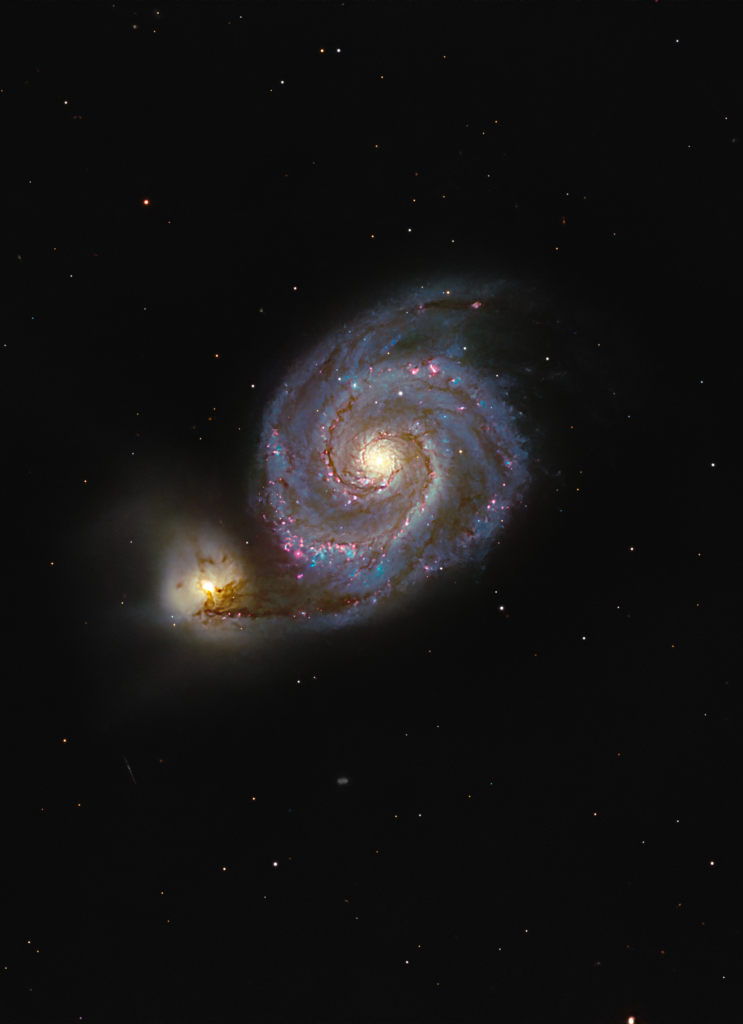
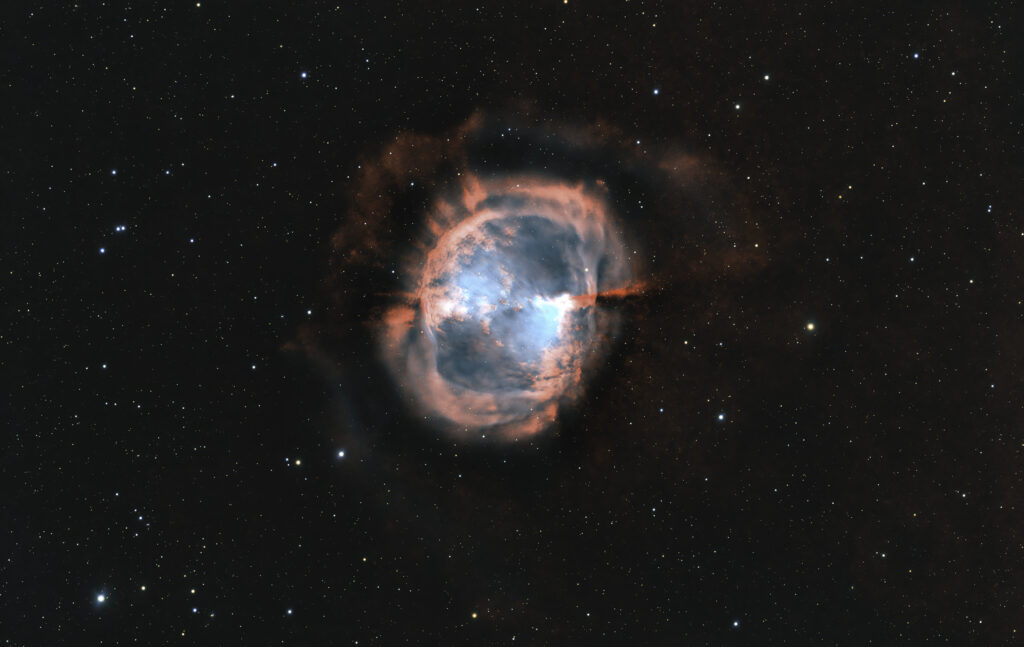
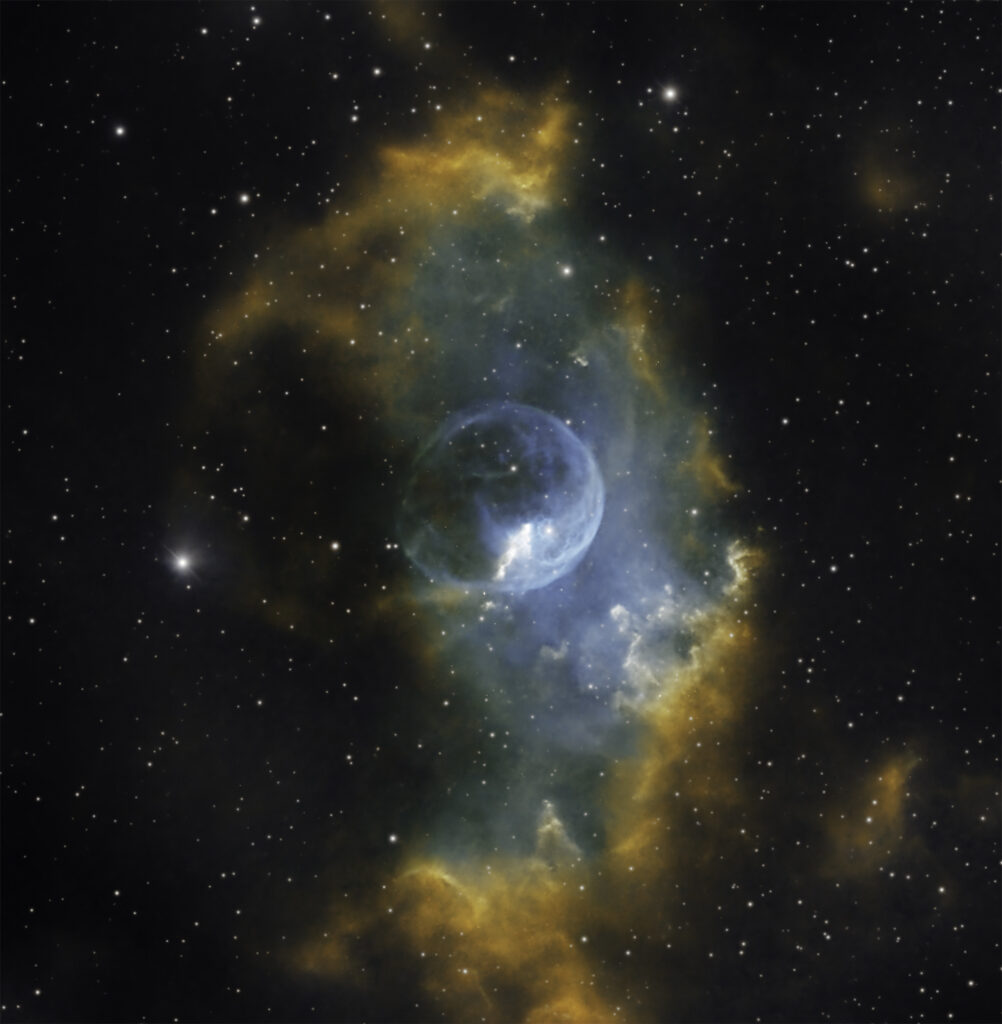
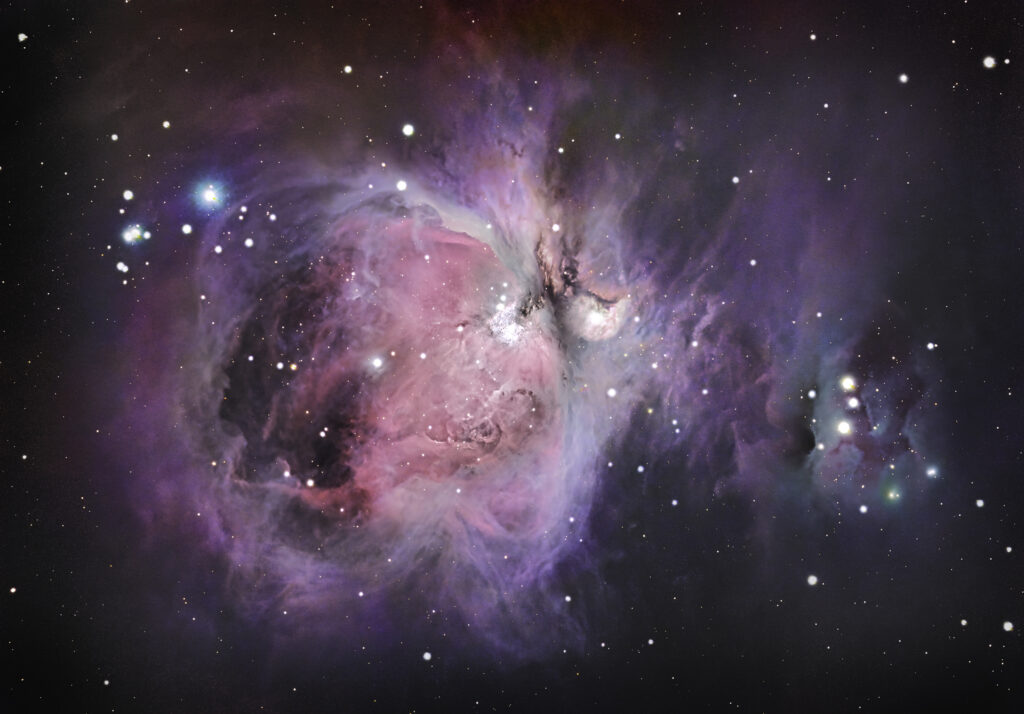
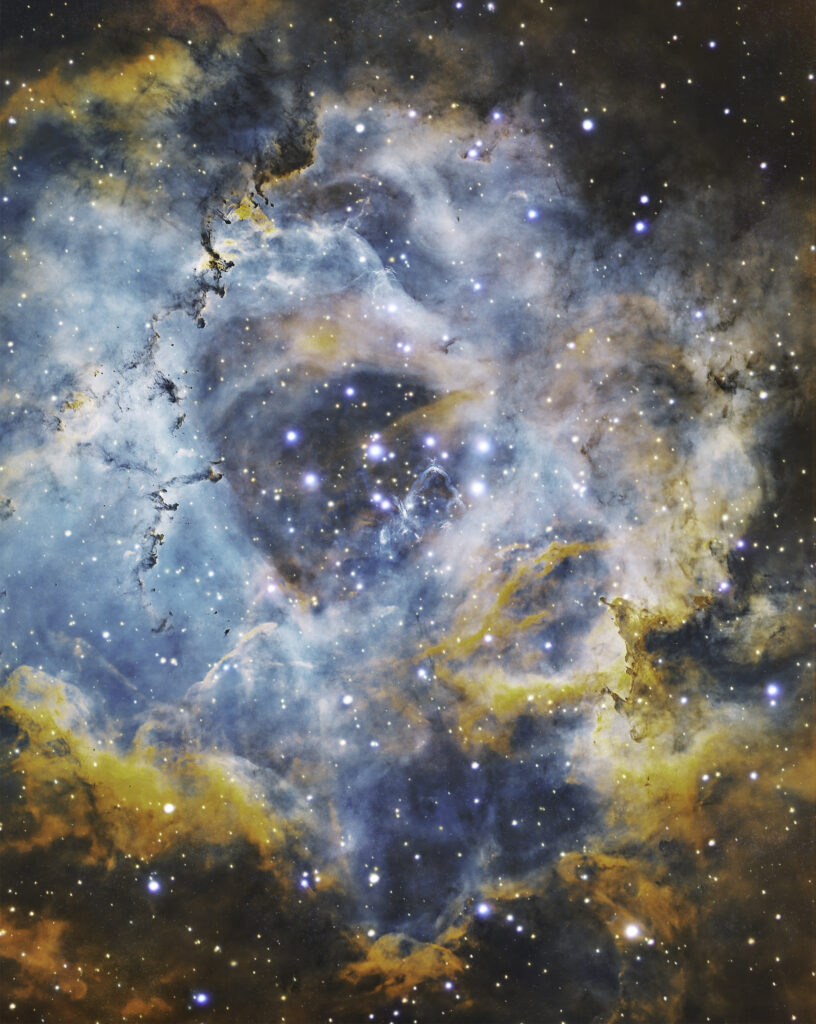
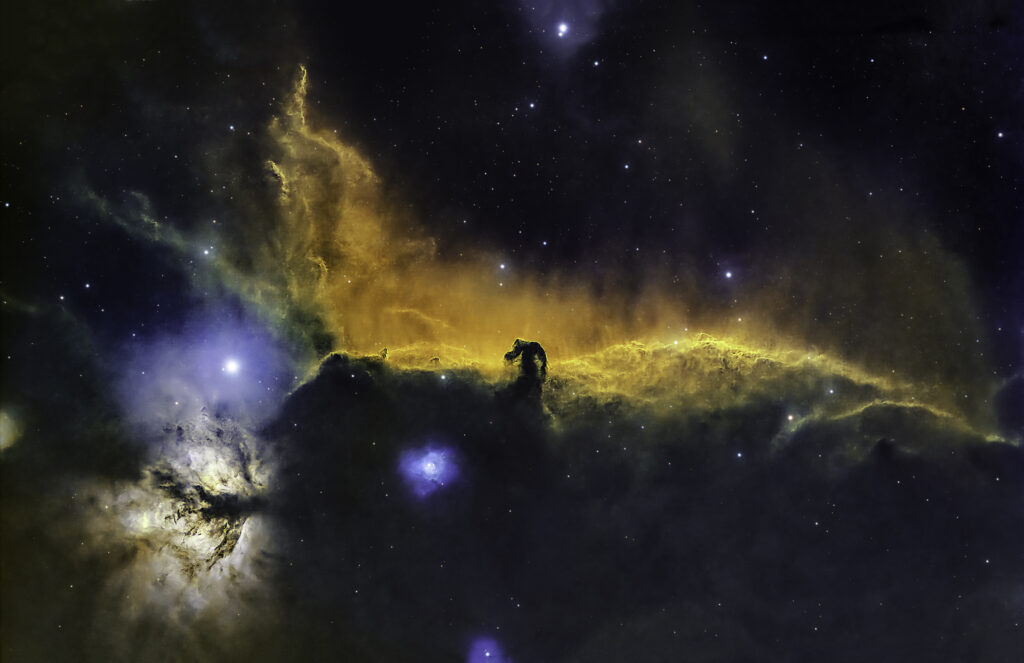
6️⃣ Astro Camera: Dedicated astrophotography cameras with cooled sensors reduce heat-generated noise, preserving details in my image captures. For several years, I’ve used what’s known as a one-shot color camera, meaning, like a typical digital camera, the camera sensor has an array of red, green, and blue filters over each pixel. So with one shot, I capture all three colors and a full-color image.
I recently adopted a monochrome camera which I have to pair with RGB filters to capture a full-color image. This mono camera is something like 4X as sensitive to light as one-shot color, as it gathers light unimpeded by an array of RGB filters. With mono, I can put whatever filters I’d like in front of the camera, helping dramatically with urban light pollution by using very narrowband filters that keep city light out of my pics. I’m still working on improving my ‘normal’ color images.
7️⃣ Filters: Speaking of filters, even with my one-shot color camera, I’m using specialized astronomy filters that pass only a narrow band of light, combating light pollution and revealing far more detail and far faster than shooting without. With my monochrome camera, I’m using filters specific for hydrogen, oxygen and sulfur emissions from distant deep-space objects.
8️⃣ Processing all these images: Some seriously arcane stuff is going on in the workflow that produces these end results. I use a program called Pixinsight, essentially a Photoshop-like program custom-built for astrophotography. But that description barely scratches the surface. The entire program is driven by Javascript, and users can write their own custom algorithms to process their deep-space photography. This step is where I take all the images, align, remove optical defects, stretch to reveal more data, adjust color and enhance detail. I’ve only begun to scratch the surface there. 🎨✨ It’s also a slow process. I usually end up fine-tuning my images in good ol’ Photoshop in the end. A typical night of imaging will result in a collection of a few hundred images, and getting the images ready to even begin putting them into a presentable form pushes my nearly-new Mac Studio to the limits of it’s processor, running for 30+ minutes.
I hope this background is helpful! Please reach out via my socials if you are interested in learning more about this hobby.